Due to customer privacy, the video above is for demonstration purposes only.
Now that most smartphones come fully equipped with high-quality cameras—and more than 90 percent of the population owns a mobile device — many of us are carrying around thousands of photo files in our back pockets. While phones do offer some simple tags to help users sort through their personal archives, computer vision classification models offer an easy and effective way of creating custom, highly-specialized models that can help to categorize visual data with highly personalized labels.
In this post, we’ll guide you through the process of creating a classification model in 6 easy steps.
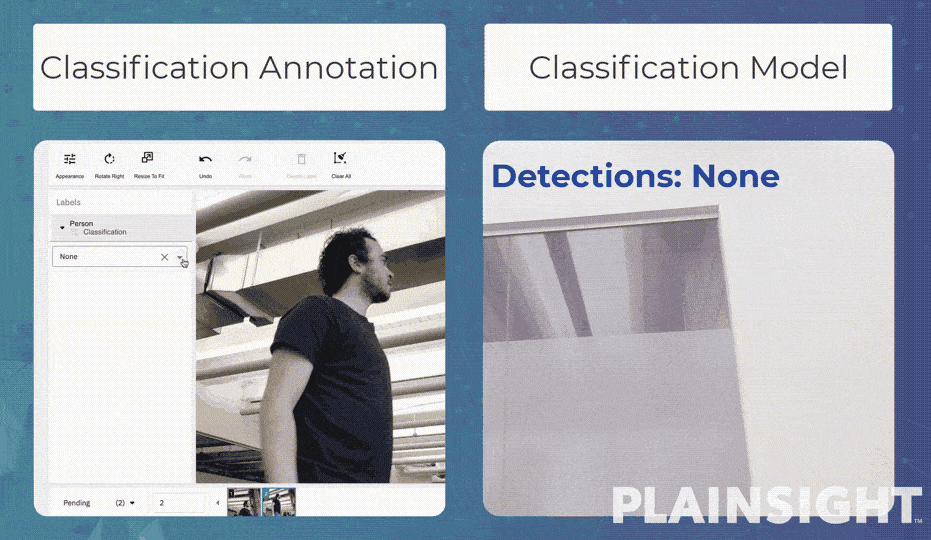
What is a Classification Model, and Why Does it Matter?
A classification model is a computer vision algorithm that has been trained to categorize an image. The model learns how to do this by continuously examining images that have been labeled manually until it has processed enough labeled data to accurately categorize new images automatically. This is extremely useful for sorting images into searchable categories.
How to build a classification model
1. Choose your data: I am an avid hiker and love to visit Yosemite National Park. In addition to towering granite walls, Yosemite has some of the most beautiful waterfalls in the world. I wanted a way to be able to sort my numerous photos of the different waterfalls so that I could easily categorize them. A computer vision classification model is perfect for this!
2. Uploading your data: I transferred 143 images s from my local device into a dataset folder labeled Yosemite Waterfalls.
3. Classification Labels: Next, I created label tags for the waterfalls I wanted to classify. For this project I had classification labels for 8 distinct waterfalls: Yosemite Falls, Upper Yosemite Falls, Lower Yosemite Falls, Vernal Fall, Nevada Fall, Illilouette Falls, and Chilnualna Falls.
4. Labeling the Data: Going through each photo I assigned the correct classification label until the entire dataset was labeled. I am very familiar with what the waterfalls look like so I spent an average of 2 seconds on each image.
5. Training the model: Once the dataset is tagged and submitted, Plainsight’s SmartML feature makes it easy to train an accurate model. After locking my labeled dataset into a version, I hit the ‘train model’ command and waited…
6. The Results: After only 15 minutes and with less than 200 photos I was able to create a classification model for Yosemite Waterfalls with an 83% accuracy. I was pretty impressed! To have such high accuracy on the first version of the model with such a small amount of data means that I’m on the right track to be successful in creating a highly accurate classification model.
With a working classification model I can now easily sort and categorize any future photos that I take of waterfalls in Yosemite–which can really be a time-saver!